
Complete Guide to Installing Vinyl Flooring

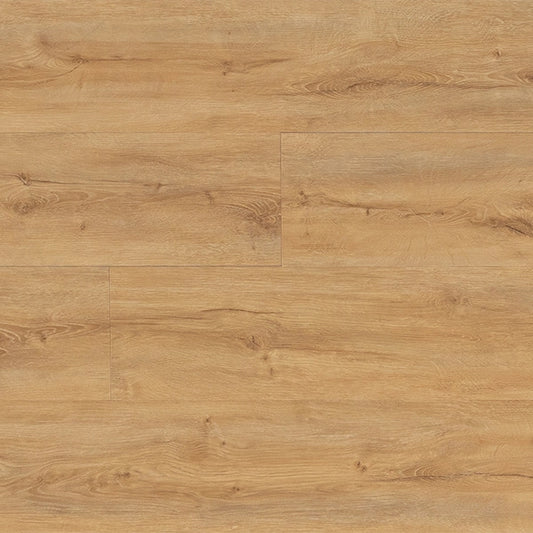
Vinyl flooring is an excellent choice for those looking for a durable, water-resistant and easy-to-maintain floor. Available in two main types: glue-down and self-adhesive, it offers flexibility in installation depending on your needs and skills. At AJM IMPORTADORA we present you a complete guide on how to install vinyl flooring at home or in the office.
1. Area Preparation
Floor Cleaning: Make sure the subfloor is clean, dry, smooth and level. Remove any debris, dust or imperfections that may interfere with the installation.
Leveling and Polishing: If the subfloor is not perfectly smooth and level, use a leveling compound to ensure the surface is even.
Conditioning Vinyl Flooring: Leave the boxes of vinyl flooring in the room where they will be installed for at least 48 hours prior to installation. This will allow the material to acclimate to the temperature and humidity of the environment.

2. Installing Vinyl Flooring That Requires Glue
Adhesive Application: Begin by applying the adhesive to a section of the subfloor using a notched wedge. Follow the manufacturer's instructions regarding the amount and method of applying the adhesive. At AJM IMPORTADORA we recommend Capitol MP340 adhesive, which has a yield of up to 5 square meters per liter.
Placing the First Plank: Place the first vinyl plank on the adhesive area, aligning it with a guide line that you have previously marked.
Installing Subsequent Rows: Continue laying the planks one by one, making sure they are properly aligned and tight. Use a floor roller to ensure the vinyl adheres properly to the adhesive and to remove any air bubbles.
Cutting Planks: Measure and cut planks as needed to fit the length of the room. Use a utility knife or vinyl knife to make precise cuts.
3. Installation of Self-Adhesive Vinyl Flooring
Subfloor Preparation: Make sure the subfloor is perfectly clean and dry, as the adhesion of self-adhesive vinyl plank depends on a dust and grease free surface.
Placing the First Board: Peel the protective paper from the back of the first board and place it in place, aligning it with a guide line.
Installing Subsequent Rows: Peel the backing paper off of each additional plank and set it firmly in place. Press the planks together to ensure good adhesion to the subfloor.
Cutting Planks: Measure and cut planks as needed to fit the length of the room. Use a utility knife or vinyl cutter to make precise cuts.

4. Adjustment and Completion
Floor Roller: Use a floor roller to press down each vinyl plank and ensure it is well adhered, removing any air bubbles and ensuring a smooth surface.
Baseboards: Once the vinyl is completely installed, place the baseboards around the perimeter of the room. Attach the baseboards to the wall, not to the vinyl floor, preferably with contact adhesive if the baseboard is vinyl. If the baseboard is wood, you can use nails to attach it to the wall.
Trim: Install trim at doors and thresholds to join the vinyl to other flooring types in adjacent areas.

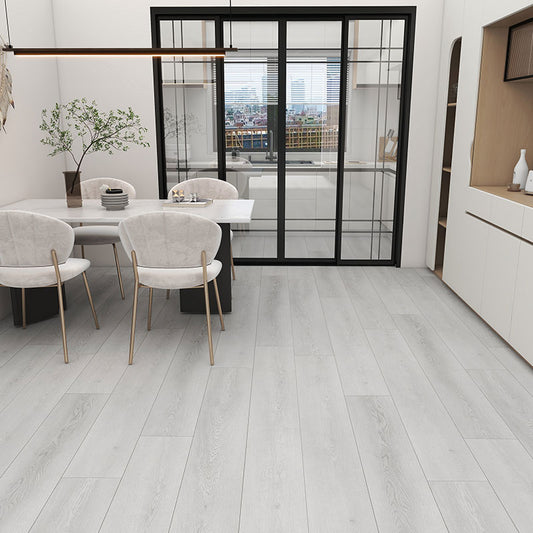
By following this guide, you can install vinyl flooring quickly and easily, transforming your space in a matter of hours. Visit us at AJM IMPORTADORA to get all the materials and advice you need!
Learn more about us here